How To Draw A Butterfly
After our recent butterfly experiment in Little Harvard Creche and Montessori Rathnew, we have decided to share with you all some tips in creating your own butterflies for your children at home. It’s a wonderful way to pass some time and encourages creativity with some colourful fun.

Your kids imagination is the only limiting factor so don’t be afraid to encourage and set it free: Use any type of paper, and use pencils, markers, crayons or any colouring pens you have at home. Fun is the name of the game, so help get it started, and let imaginations run free! :)
Start with the Body
Draw a shape like a bead and below it draw smooth small rectangle and then a bullet-like shape.

Draw the eyes from the bead-like shape and draw the antennae. Draw vertical lines in the rectangle and horizontal lines below it.

Draw the butterfly’s wings which should have equal size and pattern from both sides.

Draw the pattern and details for the wings in both sides by using curves.

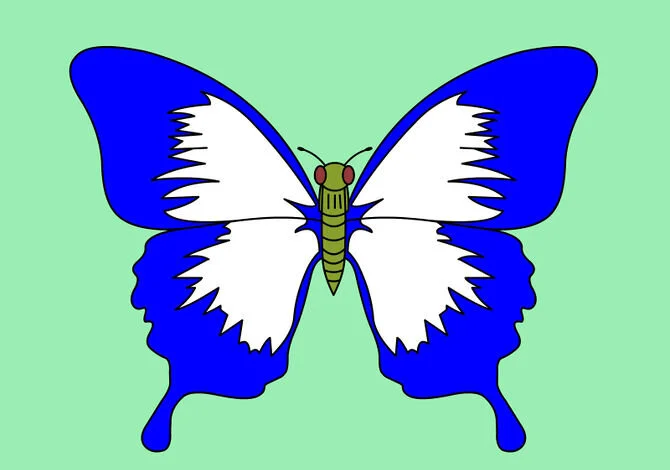
Trace with a pen and erase unnecessary lines. Colour with a marker/pen to darken some parts of the pattern in the wings.

Color to your liking!